Thanks for signing up for Reroute! We’re glad you’re here.
Reroute gives you one page for your links, forms, digital products, and automations. Your first version can stay simple. Use this guide to complete the five tasks in the page editor’s setup checklist: choose your public URL, add your profile details, add a Block, choose a design, and share the page.
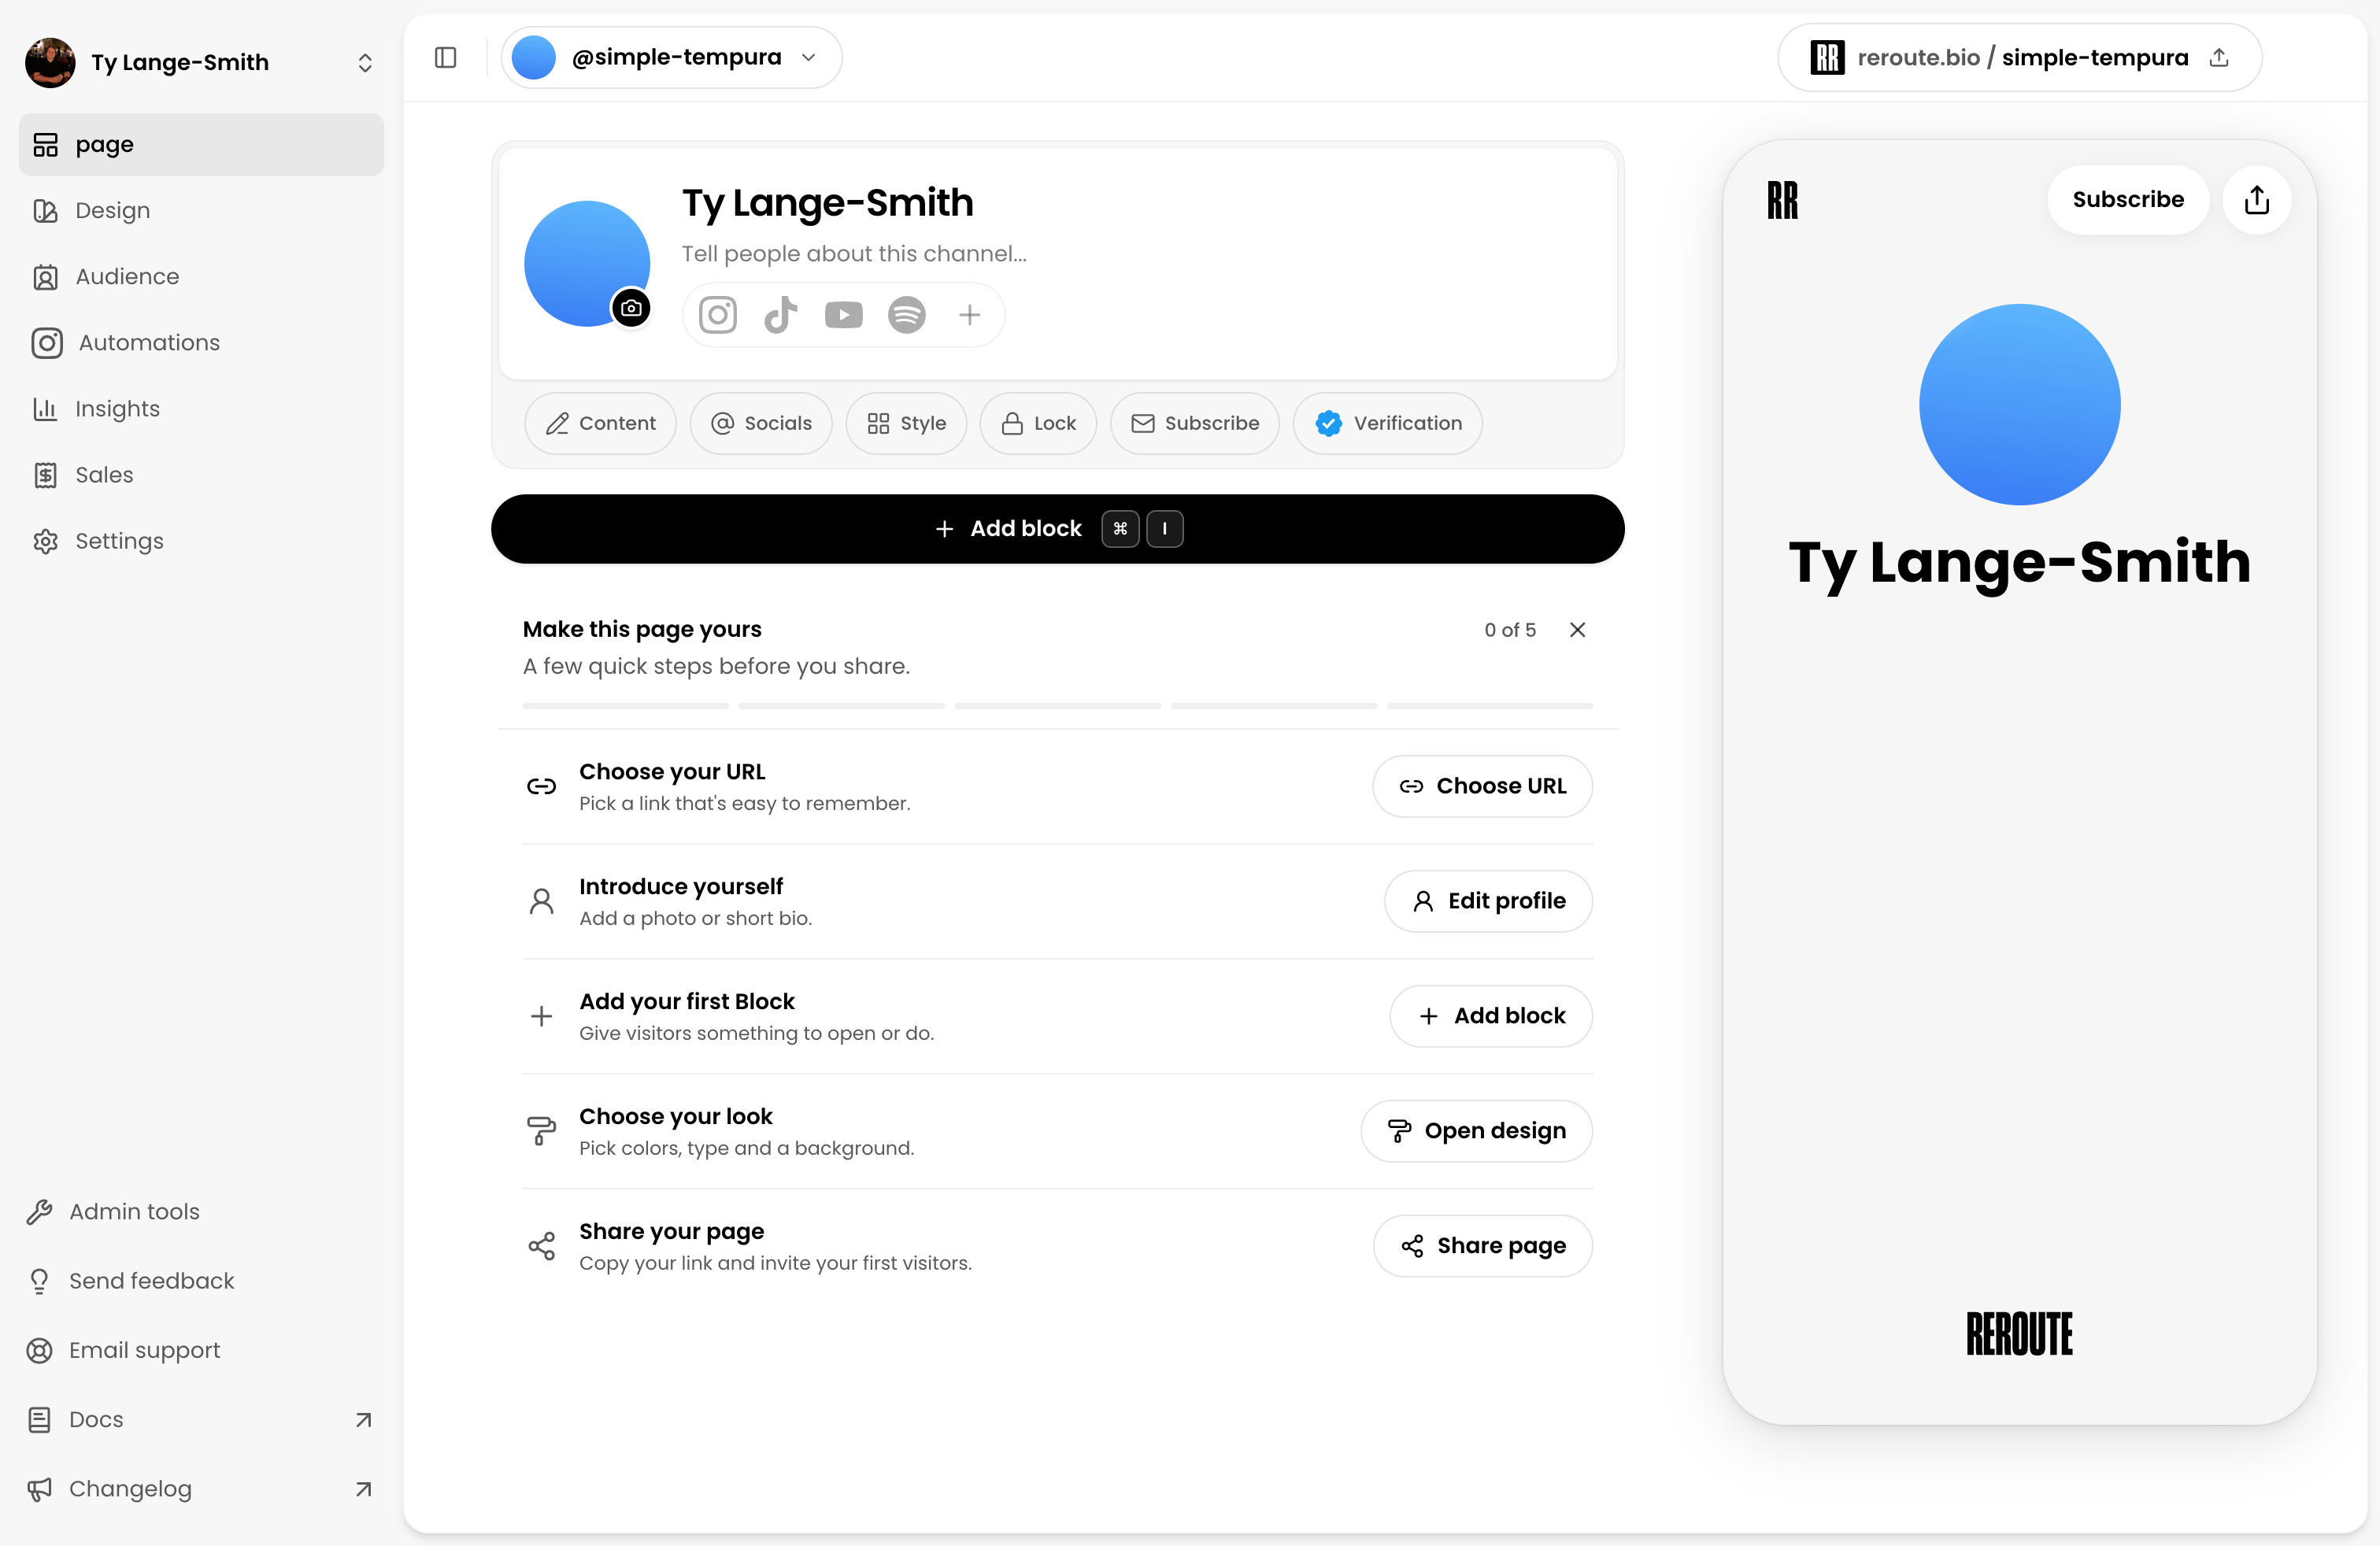
Your page is live while you edit
Reroute does not have a separate page-level Publish button. Saved changes appear on your public page straight away.
An incomplete Block is different. It stays in your editor but does not appear to visitors until its required information is present. This lets you finish a Block without exposing an empty card on your page.
Start with one complete Block. You can add, reorder, hide, schedule, or remove Blocks later.
1. Choose your URL
Select Choose URL in the setup checklist. This opens Settings at the page URL field.
New pages begin with a generated address. Replace it with a short link that people can recognise and type, then select Save URL. Your URL can use letters, numbers, dashes, and underscores.
Choose carefully before sharing. Changing the URL later breaks links that still point to the previous address.
2. Introduce yourself
Select the profile header at the top of the page editor.
- Add the name visitors already know you by.
- Add a profile image or a short bio. Both are useful, but you only need one to complete this setup step.
- Add social profiles under Socials. Social icons belong in your profile header rather than in a separate Block.
Keep the bio specific. One sentence about what you make and who it is for is usually more useful than a list of roles.
3. Add one useful Block
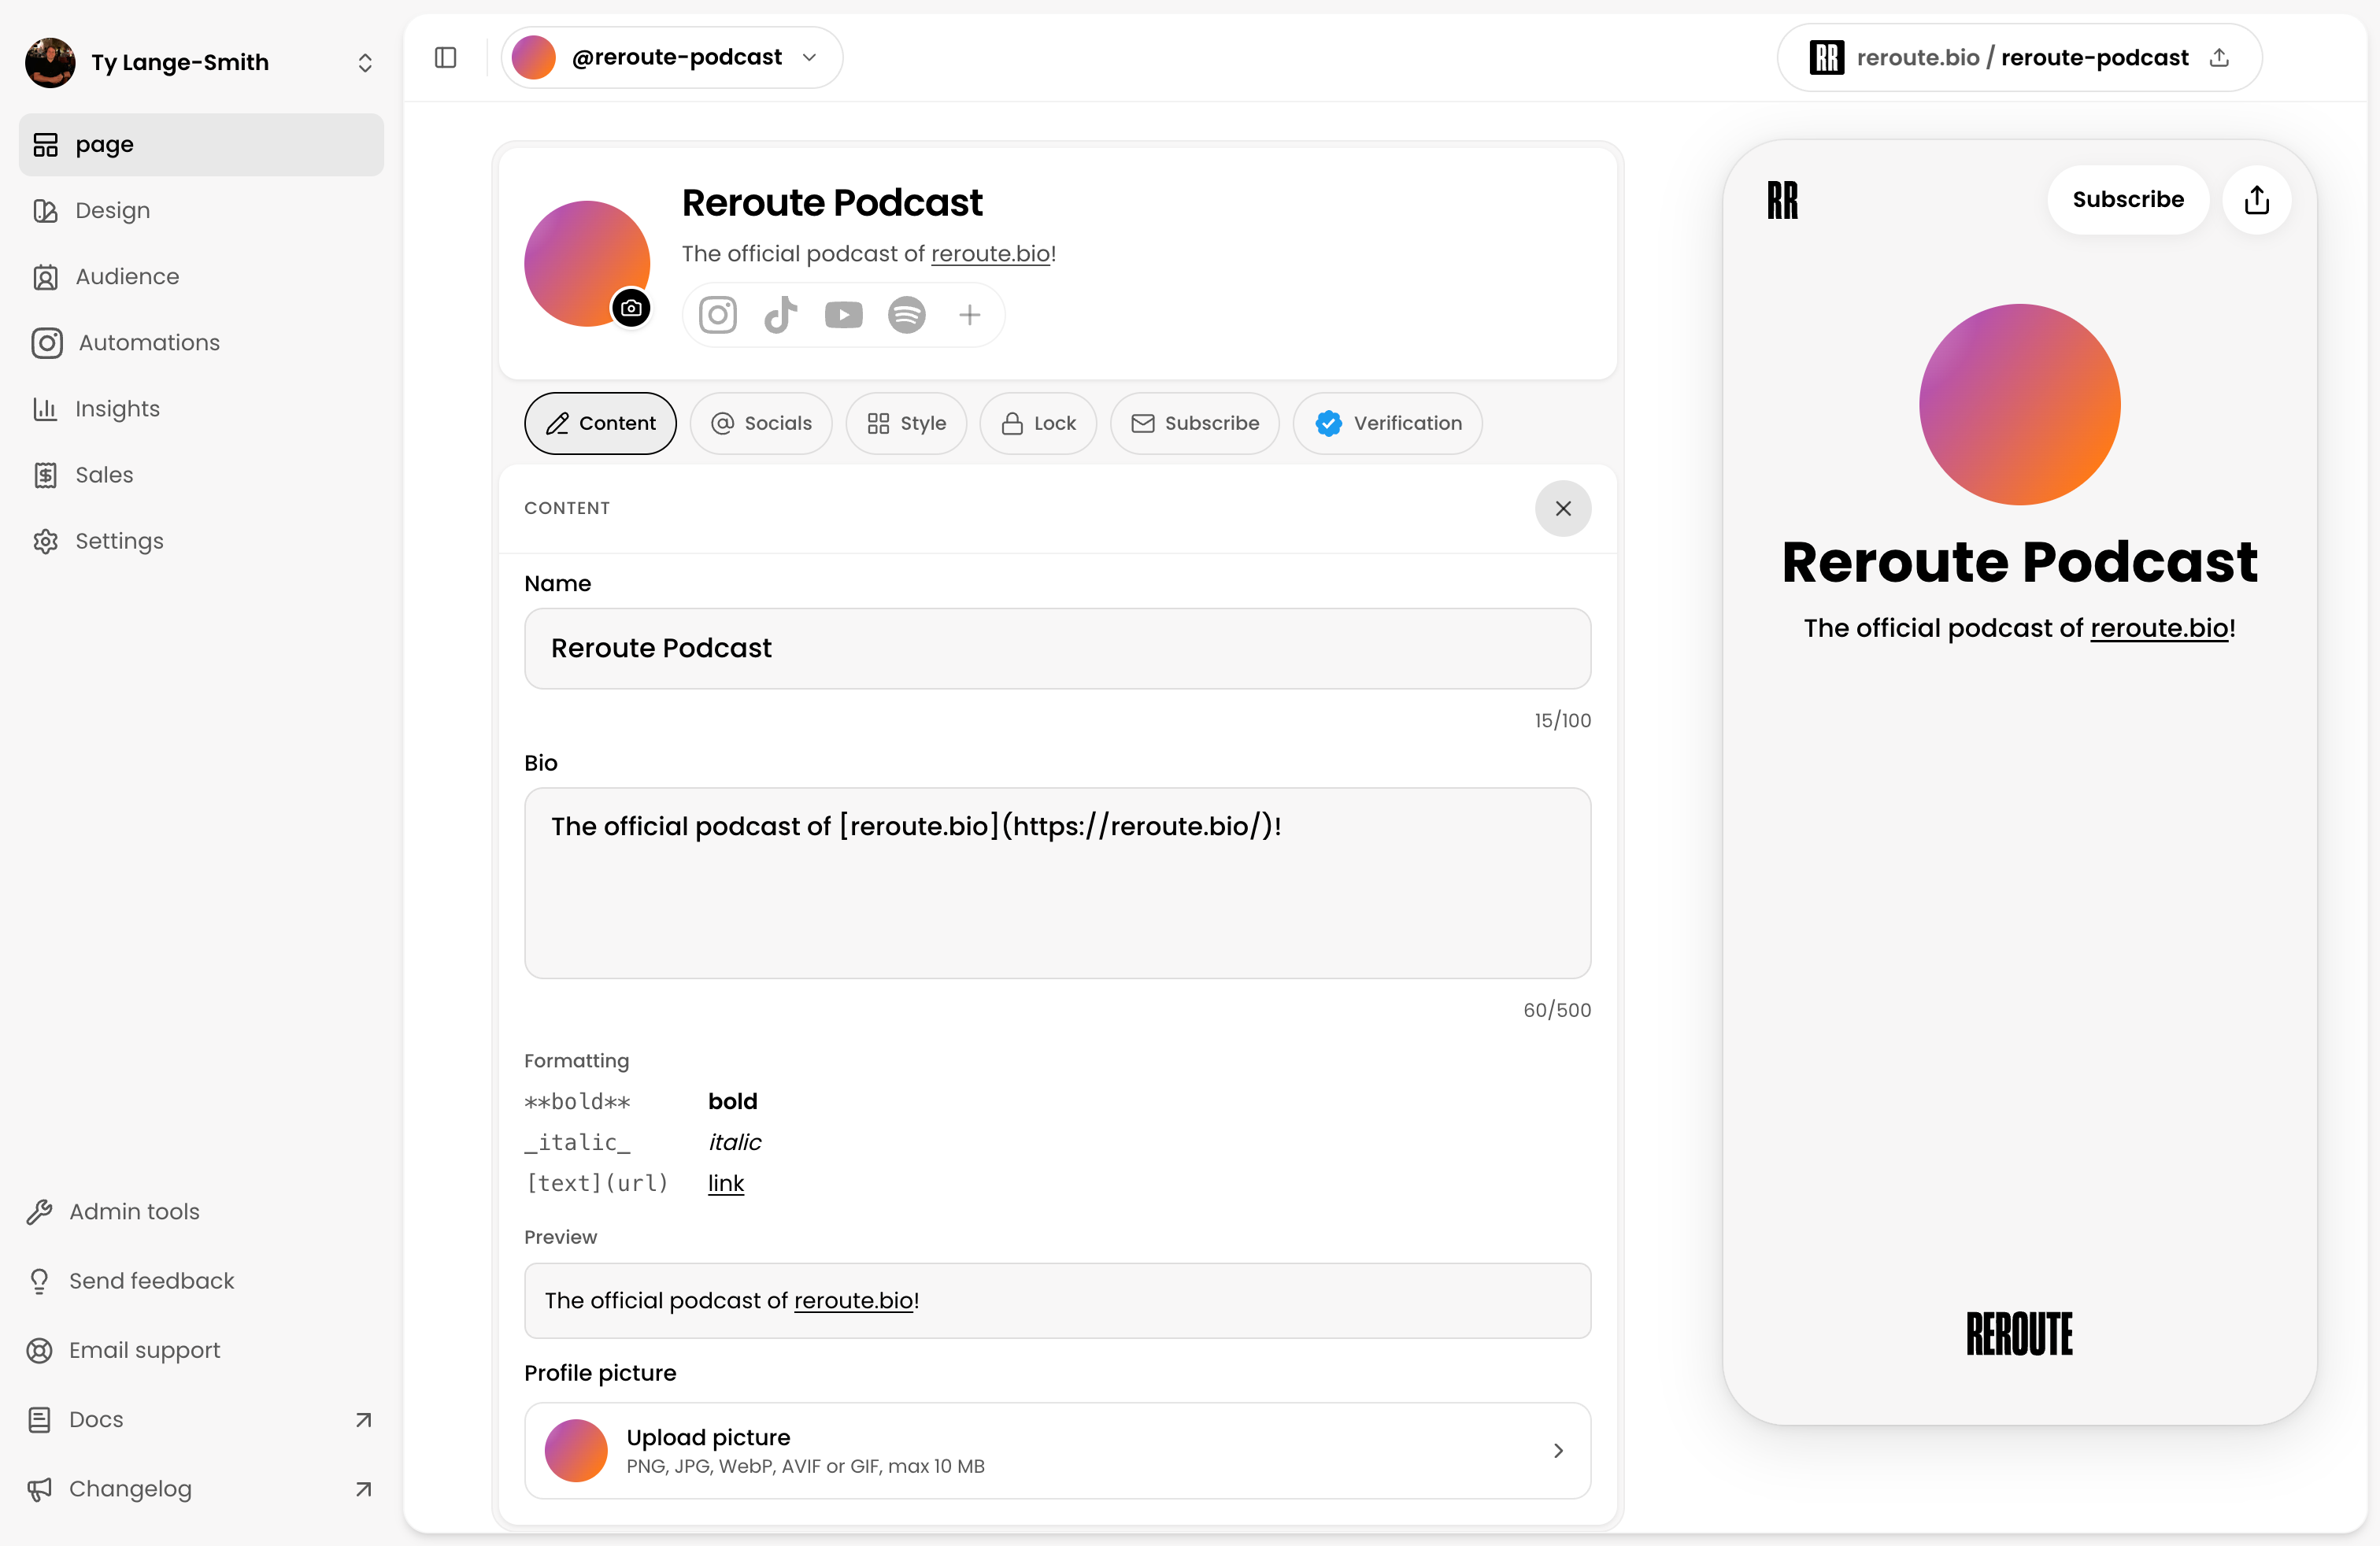
Select Add block and choose the next action you want a visitor to take.
A Link is the simplest first Block. Give it a title that describes what opens, such as “Watch the new video” or “Book a project call”, then add its destination URL.
Other useful starting points include:
- a Form when you want a message, answer, or signup;
- a Digital Product when you want to deliver a guide, template, file, or paid product;
- a media Block when the content itself should play on the page; or
- a section heading when several Blocks need a clear label.
The order in the editor is the order visitors see. Put the page’s main job near the top.
4. Choose your look
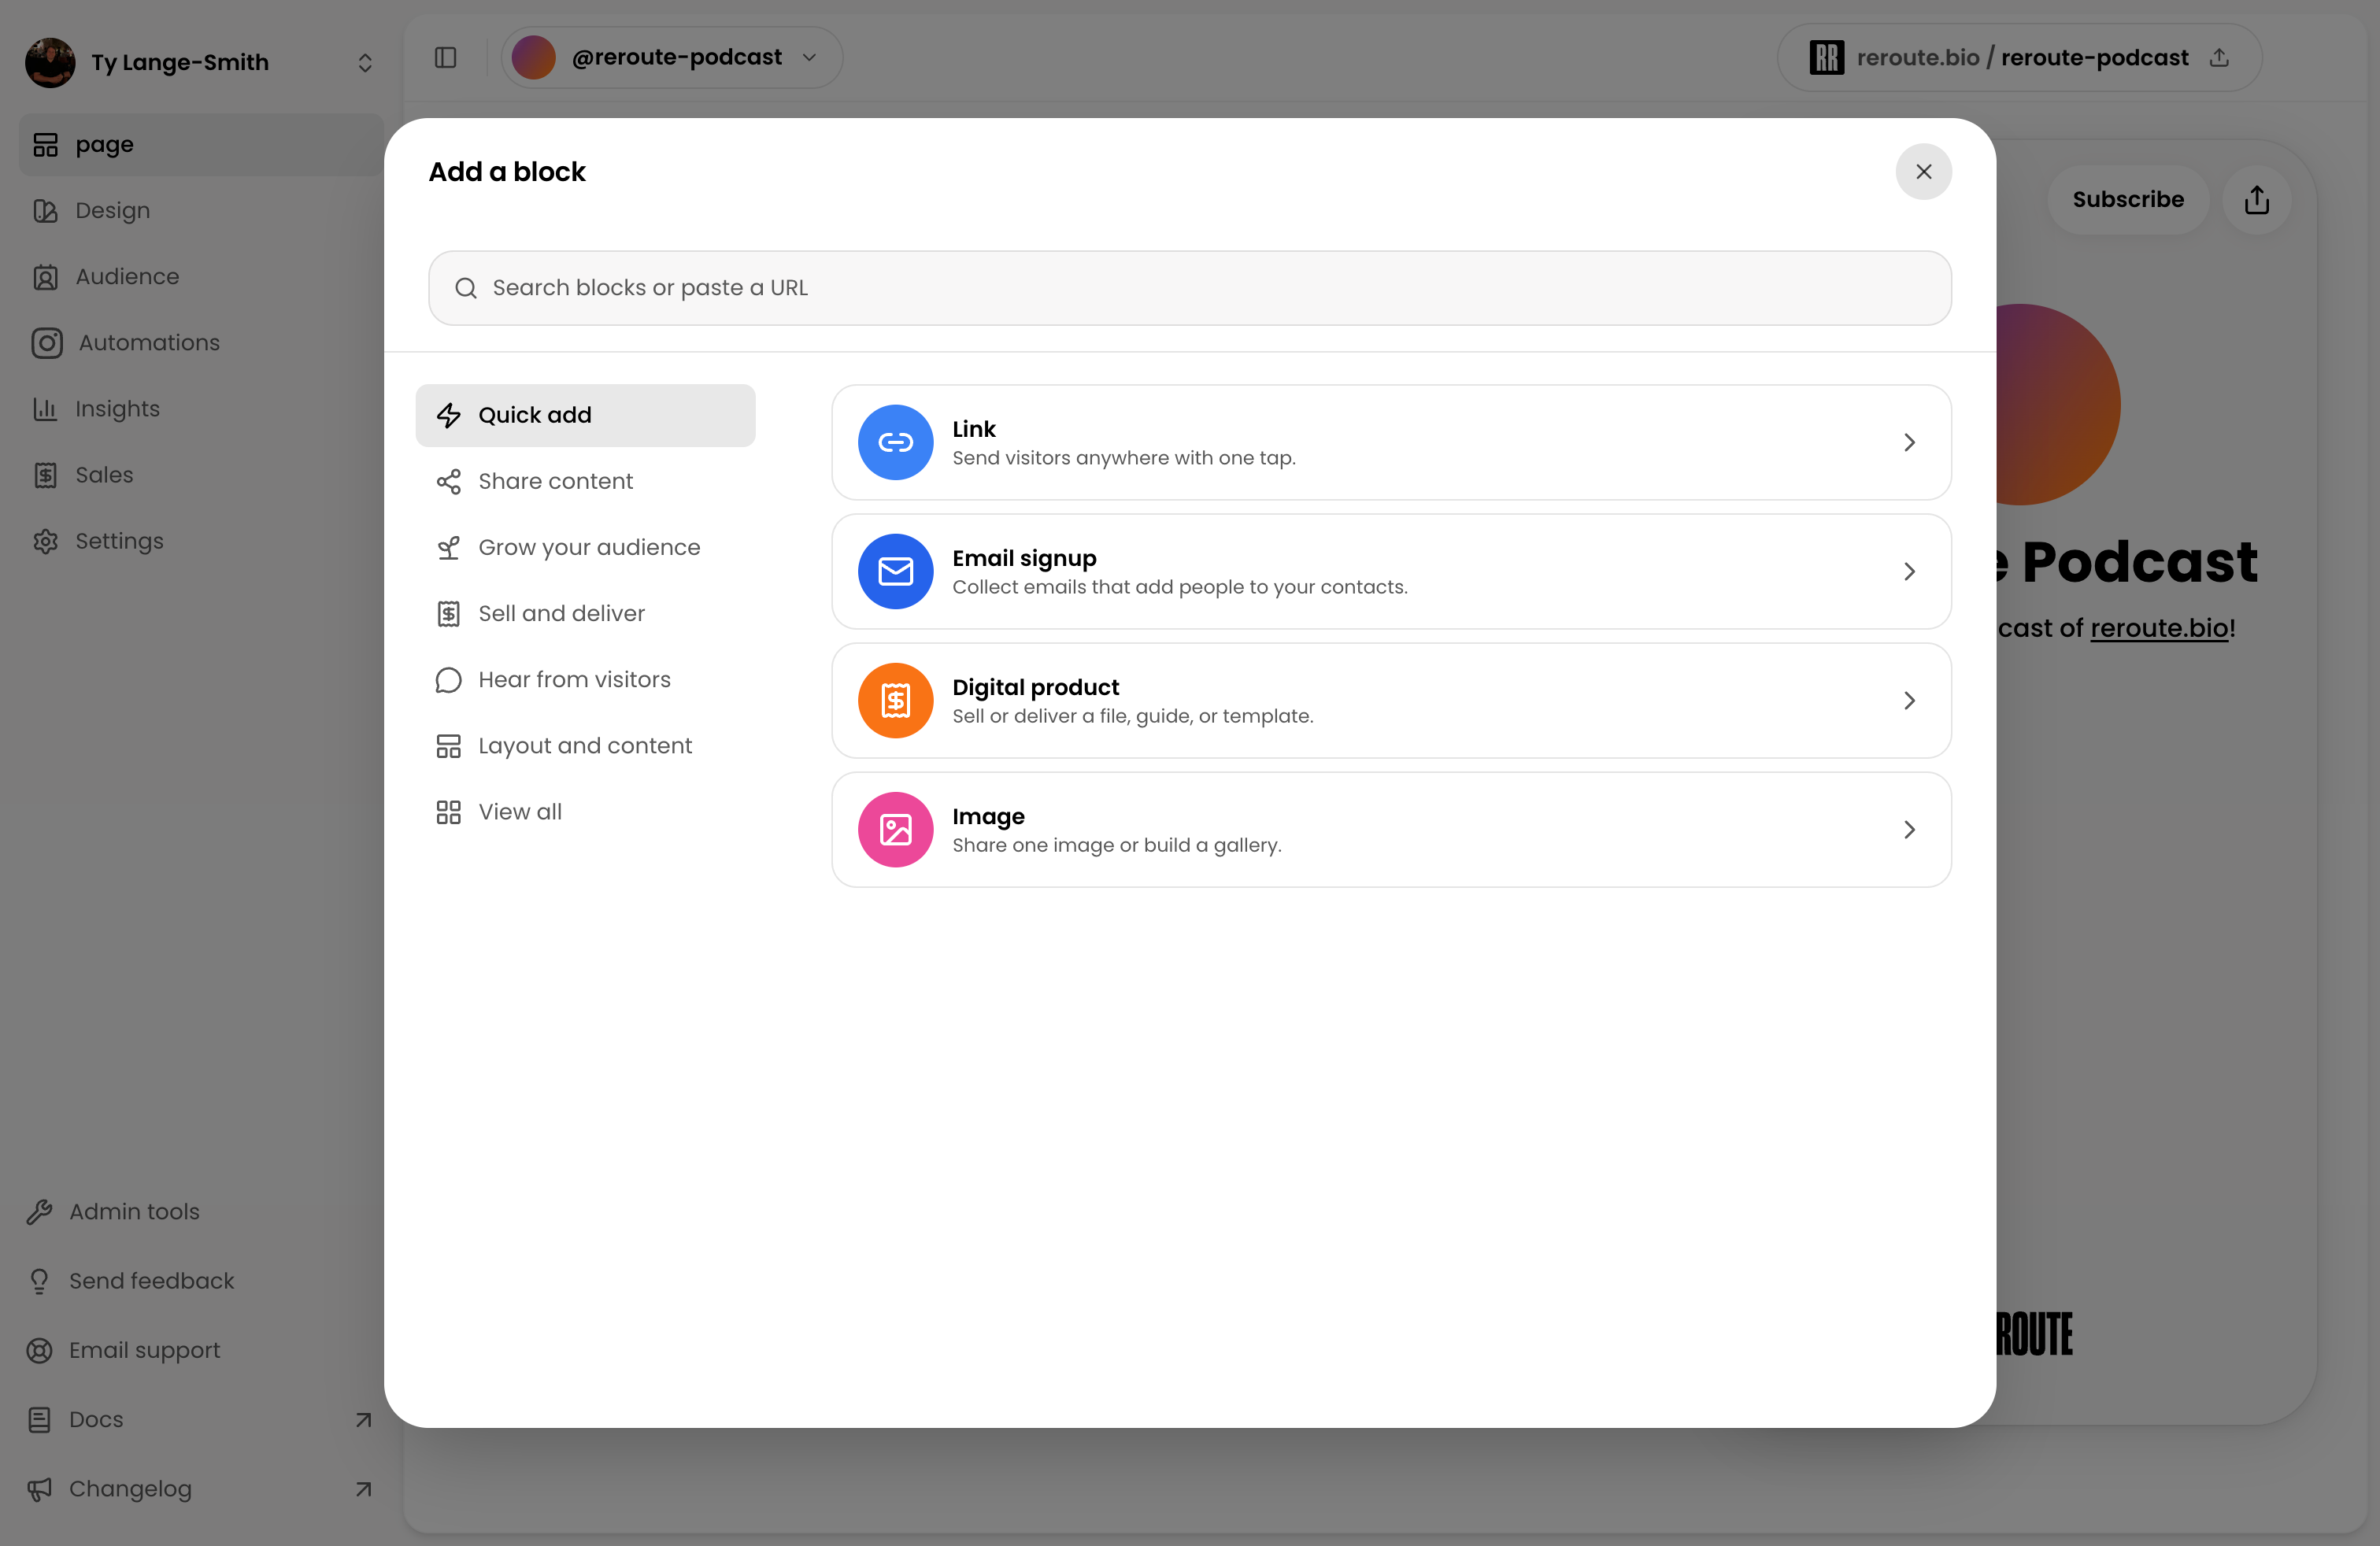
Open Design and shape the parts of the page that carry your identity.
Start with Themes if you want a coordinated look quickly. You can then adjust Header, Wallpaper, Text, Blocks, Colours, and Stickers individually without replacing your page content.
Adjust only what helps the page feel like yours. Check that text remains easy to read and that the main action is still obvious. Design your page explains which tool owns each visual choice.
5. Preview and share
Open Preview and read the page as if you arrived from a social profile.
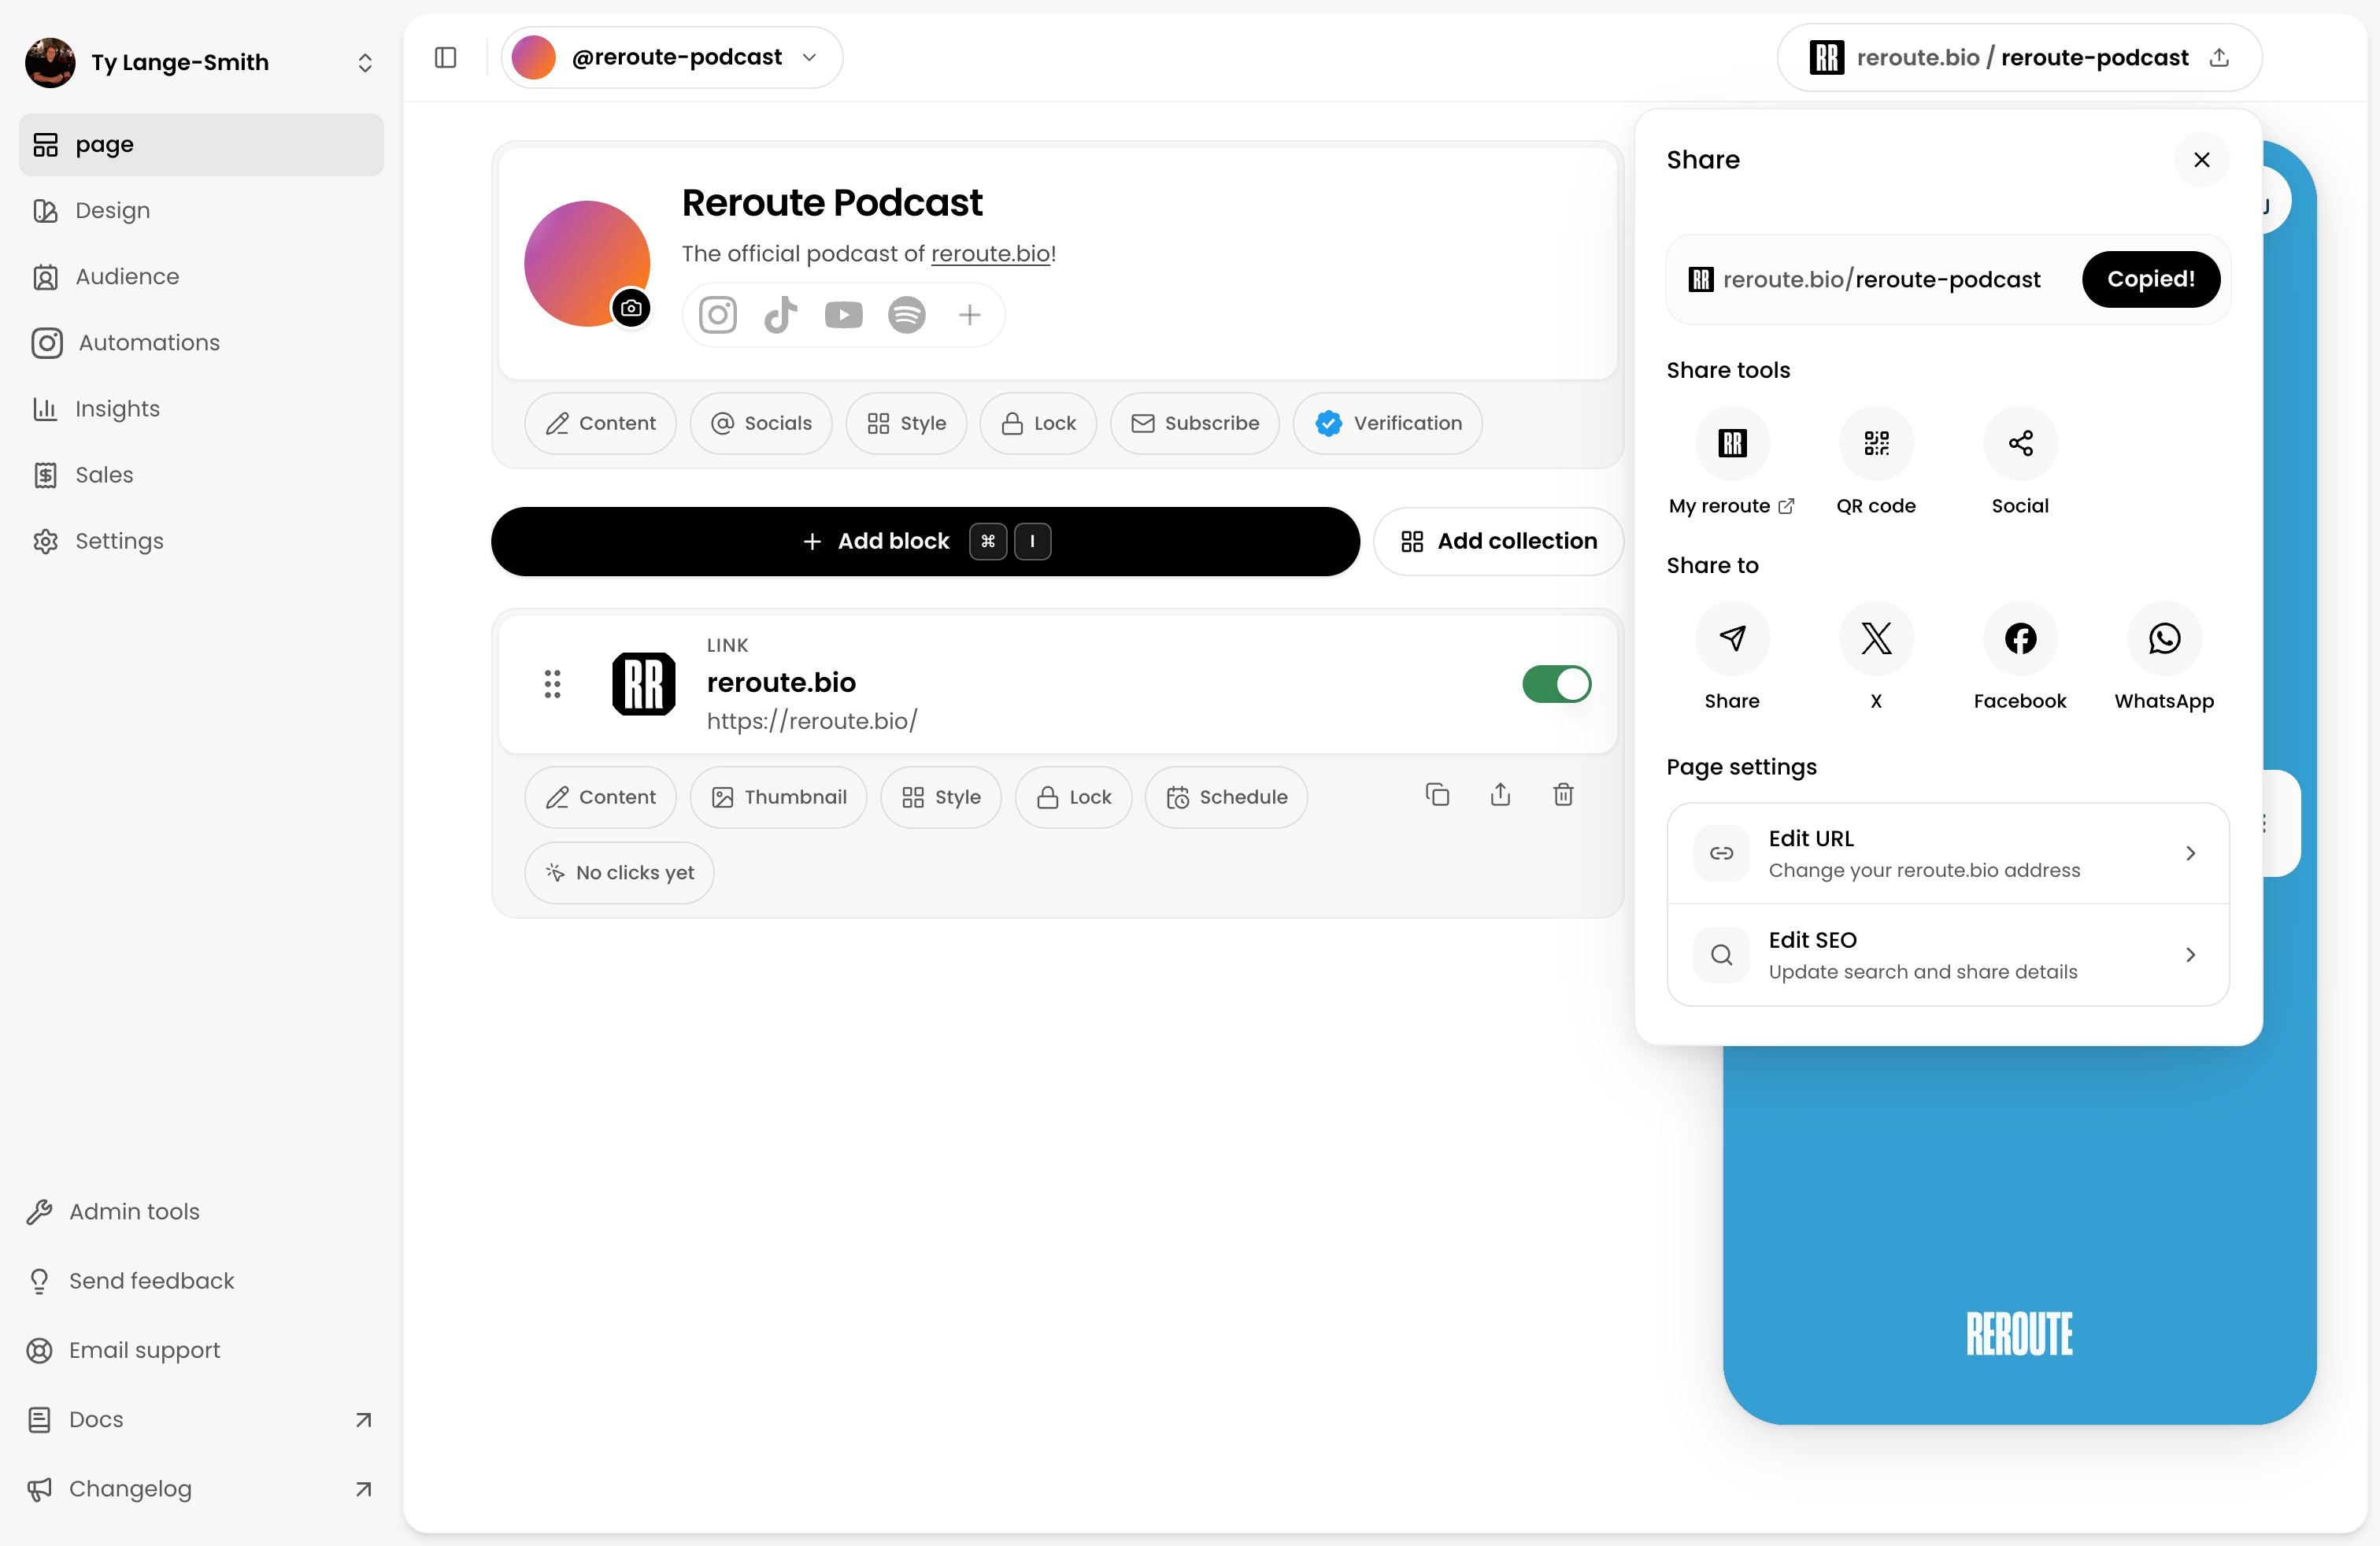
Check the identity at the top, tap the first Block, and make sure the destination works on a phone. Then open Share, copy your reroute.bio link, and place it wherever people already find you.
Choose what to build next
Your next guide depends on the job of the page.
- Set up your page for a more detailed pass through your URL, profile, Blocks, design, and sharing.
- Collect responses and build your audience when visitors should answer, subscribe, or get in touch.
- Understand your page Insights when you want to know which visitors and Blocks are producing useful results.
- Set up an Instagram auto-reply when a comment should deliver a specific link in a DM.
- Sell a Digital Product when you want to deliver a free resource or take payment for a download.
- Welcome to creator success when you want practical creator guides for your page, growth, sales, and insights.
- Understand plans and billing when you need to compare Free and Creator.
Instagram connections are awaiting Meta approval, and paid Digital Products are currently available only to invited Sellers. Free resources, public pages, audience capture, and the recent Insights report are already available.
Check your page
- Your name, photo, or bio identifies the page.
- Your public URL is short, recognisable, and ready to share.
- The first Block gives visitors one clear next step.
- Text and buttons remain easy to read on the chosen background.
- The public link and its main action work on a phone.